Mini Shamrock Whoopie Pies
Highlighted under: Treats & Confections
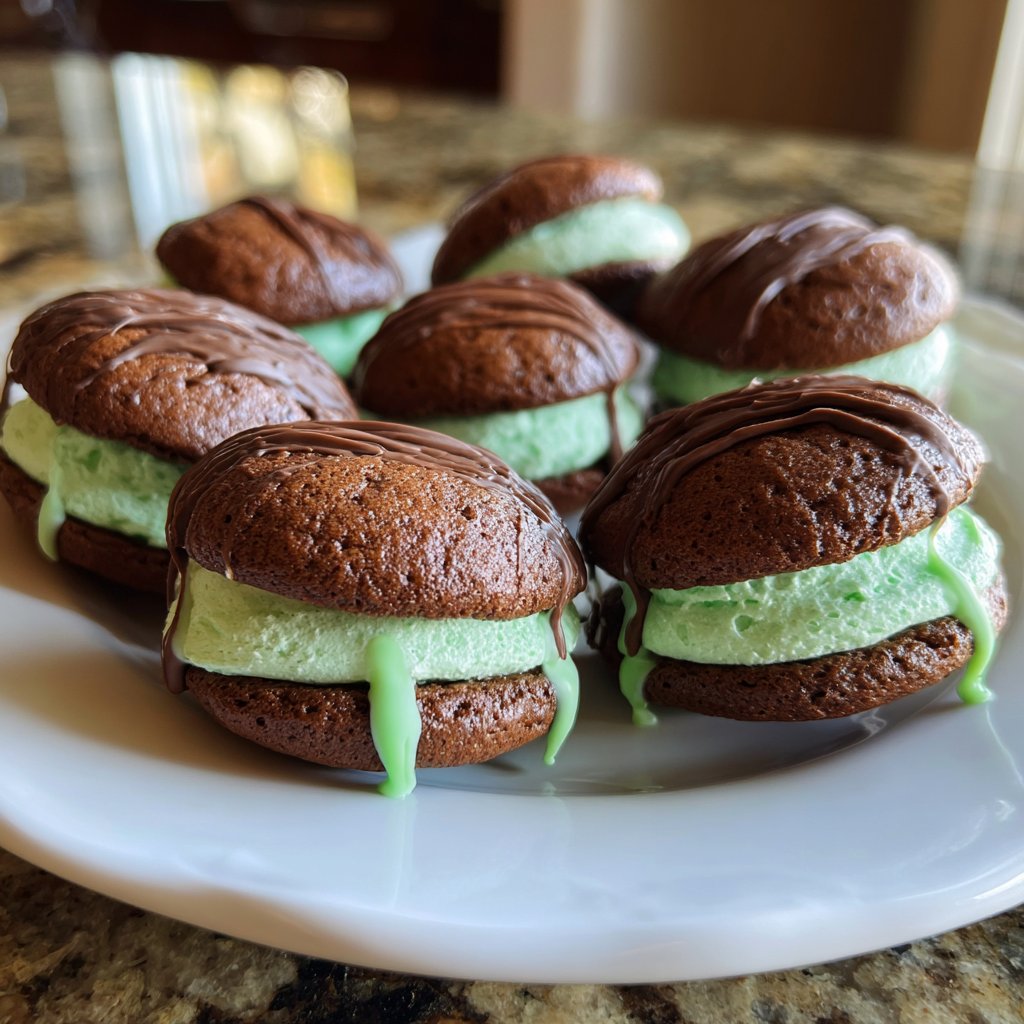
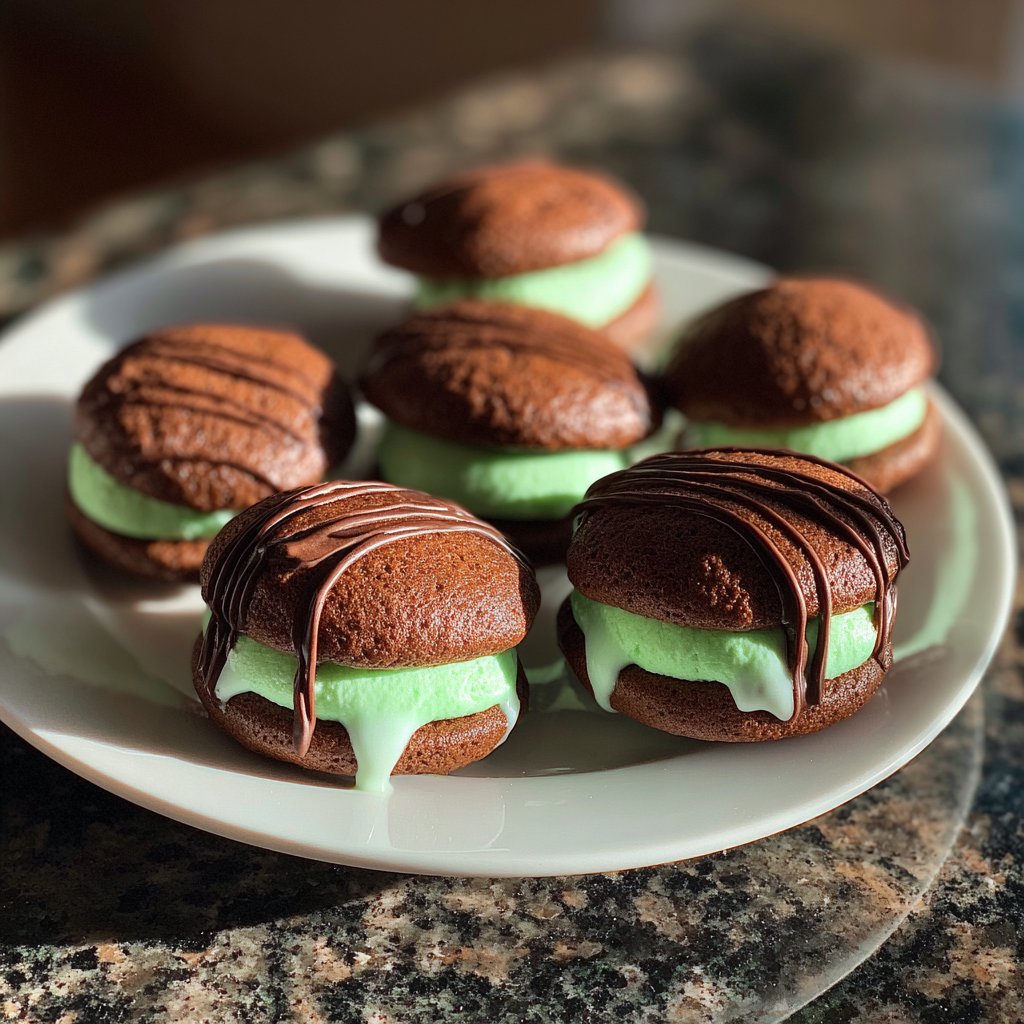
I absolutely love making Mini Shamrock Whoopie Pies around St. Patrick's Day. These little treats are not only adorable but also bursting with flavor. The combination of soft, cake-like cookie halves with a light green mint cream filling makes for a delightful dessert that will impress any crowd. The best part is that they are easy to whip up, making them perfect for festive gatherings or a sweet indulgence on any day. Trust me, once you try these, you won't be able to get enough!
When I first made Mini Shamrock Whoopie Pies, I was surprised by how simple they were to create. The vibrant green color immediately caught everyone’s attention, making them perfect for St. Patrick's Day celebrations. What really elevates these pies is the use of fresh mint extract in the filling, which gives it an authentic taste that you can’t imitate with artificial flavors.
The method I’ve refined ensures that the cookies stay soft and chewy, which balances perfectly with the creamy mint filling. I recommend chilling the filling for a bit to enhance its texture, allowing it to spread beautifully between the cookie halves without being too runny.
Why You'll Love Mini Shamrock Whoopie Pies
- Adorable mini size that's perfect for sharing
- Delicious balance of flavors with rich chocolate and refreshing mint
- Quick and easy to make, even for novice bakers
Tips for Perfect Cookies
Achieving the ideal texture for your whoopie pie cookies is crucial. When mixing your wet ingredients, make sure to cream the softened butter and sugar until the mixture is light and fluffy, which typically takes about 2-3 minutes on medium speed. This air incorporation will help your cookies rise properly as they bake, resulting in a soft, cake-like bite. Be careful not to overmix once you add the dry ingredients; mix just until combined to avoid dense cookies.
Another key factor is the spacing of your cookie dough scoops on the baking sheet. Leave about 2 inches between each scoop to allow for spreading as they bake. Keep an eye on them in the oven; you want to take them out when they’re set but still soft in the center. They should appear slightly puffed with a set exterior but will firm up as they cool on the wire rack.
Enhancing the Filling
The filling is essential for achieving that classic whoopie pie experience, and its texture should be smooth and fluffy. When making your mint cream filling, be sure to beat the softened butter until it's creamy and fully incorporated with the powdered sugar. This could take about 3-5 minutes using an electric mixer on medium speed. If the filling seems too thick, you can adjust it by adding an additional teaspoon of milk until you reach your desired consistency.
For an extra pop of mint flavor, consider using peppermint extract instead of mint extract, or a combination of both. Additionally, don’t be shy with the green food coloring if you’re aiming for a fun St. Patrick’s Day presentation. Just a few drops can elevate the visual appeal of your filling, making your whoopie pies even more festive!
Storage and Serving Suggestions
If you want to prepare these Mini Shamrock Whoopie Pies in advance, they store well. Keep them in an airtight container at room temperature for up to three days. If you'd like to extend their shelf life, you can refrigerate them for about a week. To prevent them from becoming soggy, separate layers with parchment paper when stacking them in the container.
Serving these whoopie pies alongside a cup of mint-flavored tea or coffee can enhance the overall experience. If you're feeling adventurous, try rolling the edges in crushed peppermint candies or sprinkles for an extra festive touch. This not only adds visual appeal but also enhances the flavor profile with a delightful crunch.
Ingredients
Ingredients
For the Cookies
- 1 cup all-purpose flour
- 1/2 cup cocoa powder
- 1/2 teaspoon baking soda
- 1/4 teaspoon salt
- 1/2 cup unsalted butter, softened
- 1 cup granulated sugar
- 1 large egg
- 1 teaspoon vanilla extract
- 1/4 teaspoon mint extract
- 1/2 cup semi-sweet chocolate chips
For the Filling
- 1/2 cup unsalted butter, softened
- 1 1/2 cups powdered sugar
- 1 tablespoon milk
- 1/4 teaspoon mint extract
- Green food coloring, optional
Instructions
Steps
Preheat the Oven
Preheat your oven to 350°F (175°C) and line a baking sheet with parchment paper.
Make the Cookie Batter
In a bowl, whisk together the flour, cocoa powder, baking soda, and salt. In another bowl, cream butter and sugar until fluffy, then mix in egg, vanilla, and mint extract. Gradually add dry ingredients to the wet mixture until combined. Stir in chocolate chips.
Bake the Cookies
Drop tablespoon-sized scoops of batter onto the prepared baking sheet, spacing them about 2 inches apart. Bake for 8-10 minutes until set but still soft. Allow them to cool completely on a wire rack.
Prepare the Filling
In a mixing bowl, beat the softened butter until creamy. Gradually add powdered sugar, then mix in milk, mint extract, and a few drops of green food coloring if desired until fluffy.
Assemble the Whoopie Pies
Once the cookies are completely cooled, spread a generous dollop of filling on the flat side of one cookie, then top it with another, flat side down. Gently press together.
Pro Tips
- For an extra touch, you can dust the finished whoopie pies with powdered sugar before serving. They also freeze well, making them great for make-ahead desserts!
Common Issues and Fixes
One common issue you might face is cookies that spread too much while baking. This usually happens if your butter is too warm when you mix the dough. To avoid this, make sure to use butter that is just softened—press your finger into it; it should leave an indent without being greasy. If you’ve already mixed your dough and notice it’s too soft, chilling it in the refrigerator for about 30 minutes can help restore firmness before you scoop it onto the baking sheet.
Another potential pitfall is the filling being too runny. If this occurs, add more powdered sugar gradually to help thicken it without compromising the flavor. Always taste your filling before assembly to ensure the mint flavor is balanced and not overpowering.
Scaling the Recipe
If you're looking to make a larger batch of Mini Shamrock Whoopie Pies for a gathering, simply double the recipe. When scaling up, it's important to mix the batter in batches instead of all at once to ensure even combining. This helps maintain the right texture and prevents overmixing, which can lead to tough cookies.
Conversely, if you'd like to make a smaller batch, feel free to halve the recipe. Just be mindful of your measuring, as the cookie batter can be tricky to scale down precisely. A kitchen scale can be incredibly helpful for maintaining accurate measurements when you’re adjusting the quantities.
Questions About Recipes
→ Can I use a different flavor for the filling?
Absolutely! You can substitute the mint extract with vanilla or almond for a different flavor profile.
→ How do I store leftover whoopie pies?
Store them in an airtight container at room temperature for up to 3 days or refrigerate for up to a week.
→ Can I freeze these whoopie pies?
Yes, you can freeze the assembled whoopie pies. Just place them in a single layer in a freezer-safe container.
→ Can I use gluten-free flour?
Yes, using a gluten-free all-purpose flour blend should work well for this recipe.
Mini Shamrock Whoopie Pies
Created by: The Dailydishrecipes Team
Recipe Type: Treats & Confections
Skill Level: Easy
Final Quantity: 12 whoopie pies
What You'll Need
For the Cookies
- 1 cup all-purpose flour
- 1/2 cup cocoa powder
- 1/2 teaspoon baking soda
- 1/4 teaspoon salt
- 1/2 cup unsalted butter, softened
- 1 cup granulated sugar
- 1 large egg
- 1 teaspoon vanilla extract
- 1/4 teaspoon mint extract
- 1/2 cup semi-sweet chocolate chips
For the Filling
- 1/2 cup unsalted butter, softened
- 1 1/2 cups powdered sugar
- 1 tablespoon milk
- 1/4 teaspoon mint extract
- Green food coloring, optional
How-To Steps
Preheat your oven to 350°F (175°C) and line a baking sheet with parchment paper.
In a bowl, whisk together the flour, cocoa powder, baking soda, and salt. In another bowl, cream butter and sugar until fluffy, then mix in egg, vanilla, and mint extract. Gradually add dry ingredients to the wet mixture until combined. Stir in chocolate chips.
Drop tablespoon-sized scoops of batter onto the prepared baking sheet, spacing them about 2 inches apart. Bake for 8-10 minutes until set but still soft. Allow them to cool completely on a wire rack.
In a mixing bowl, beat the softened butter until creamy. Gradually add powdered sugar, then mix in milk, mint extract, and a few drops of green food coloring if desired until fluffy.
Once the cookies are completely cooled, spread a generous dollop of filling on the flat side of one cookie, then top it with another, flat side down. Gently press together.
Extra Tips
- For an extra touch, you can dust the finished whoopie pies with powdered sugar before serving. They also freeze well, making them great for make-ahead desserts!
Nutritional Breakdown (Per Serving)
- Calories: 180 kcal
- Total Fat: 8g
- Saturated Fat: 5g
- Cholesterol: 30mg
- Sodium: 50mg
- Total Carbohydrates: 25g
- Dietary Fiber: 1g
- Sugars: 15g
- Protein: 2g