Homemade Chocolate Peanut Butter Treats
Highlighted under: Treats & Confections
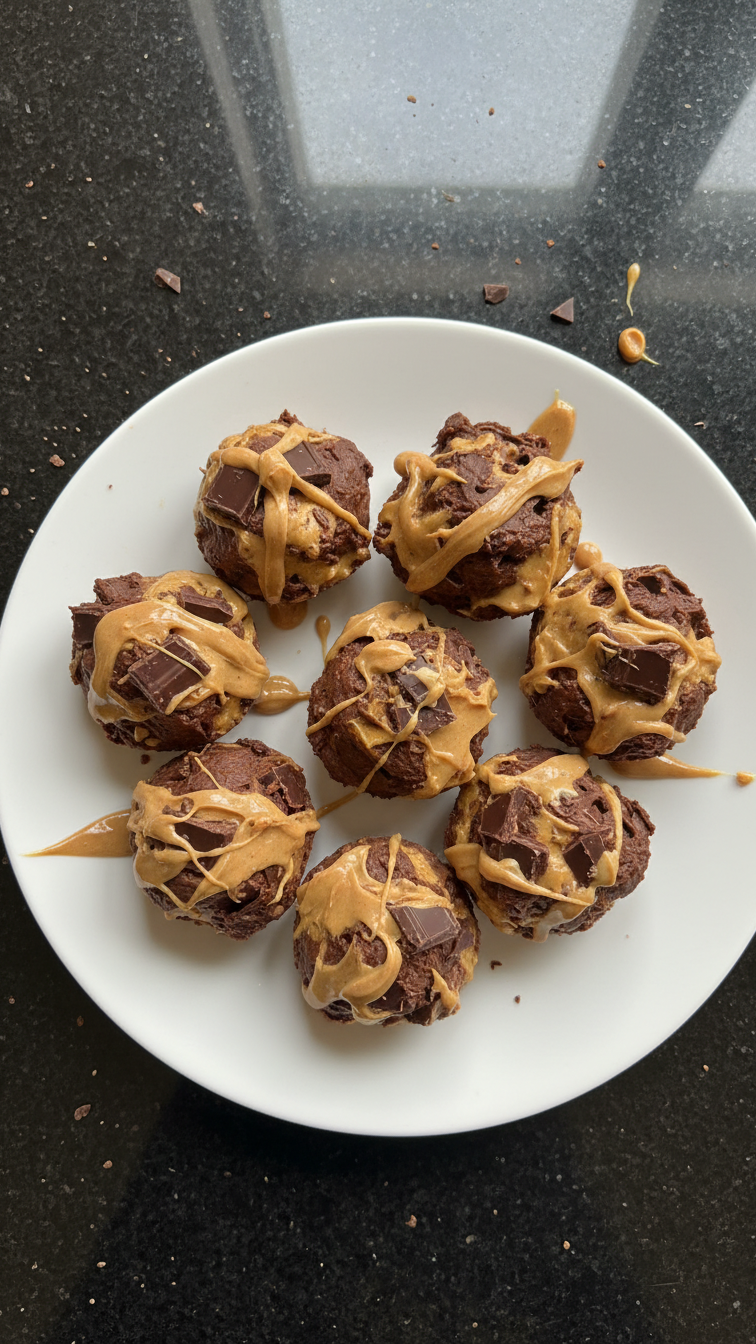
I absolutely love making these Homemade Chocolate Peanut Butter Treats! They are the perfect blend of rich chocolate and creamy peanut butter that satisfies my sweet cravings. The best part is how simple they are to whip up, making them an ideal treat for any occasion. Whether I’m celebrating a special event or indulging myself after a long day, these treats never disappoint. Plus, with just a handful of ingredients, I can enjoy a delicious dessert without compromising on quality or flavor.
When I first experimented with these treats, I was amazed at how quickly they came together. The combination of chocolate and peanut butter creates an irresistible flavor that I can’t resist. After several attempts, I found that using real chocolate instead of chocolate chips makes a significant difference in texture and taste.
A great tip I discovered is to let the treats set in the fridge for a little while before cutting them. This allows the chocolate to firm up, and makes for cleaner cuts, giving them that perfectly polished look that impresses everyone!
Why You'll Love This Recipe
- Rich chocolate flavor paired with creamy peanut butter
- No baking involved for a quick and easy treat
- Perfect for sharing or enjoying all by yourself
Understanding the Ingredients
Each ingredient in these Homemade Chocolate Peanut Butter Treats plays a crucial role. The creamy peanut butter provides a rich, nutty flavor and acts as the binding agent, giving the treats their shape and smooth texture. Honey not only adds sweetness but also contributes moisture, making the treats chewy. If you're looking for a refined sugar-free option, consider using maple syrup instead of honey.
Rolled oats are the backbone of this recipe, adding a wholesome texture and heartiness. They help absorb moisture and provide a satisfying chew. For a more decadent version, you could swap half of the rolled oats for crushed graham crackers or puffed rice for added crunch. This variation creates a delightful contrast to the creamy filling.
Techniques for Perfect Treats
When shaping the treats, wetting your hands slightly can prevent the mixture from sticking, making it easier to form uniform balls or squares. Aim for about 1-inch pieces for consistent texture and even coating in chocolate. If the mixture feels too crumbly, a splash of additional honey can help bring it together without compromising the flavor.
Coating the treats in melted chocolate requires a careful approach. Use a fork or a toothpick to dip each treat into the chocolate, allowing any excess to drip off before placing them back on the parchment paper. To achieve a glossy finish, ensure your chocolate is melted over low heat. Stir constantly until silky smooth, keeping an eye on the temperature to avoid scorching.
Ingredients
For the Treats
- 1 cup creamy peanut butter
- 1/2 cup honey
- 2 cups rolled oats
- 1 cup dark chocolate, melted
- 1 teaspoon vanilla extract
Mix well until everything is combined.
Instructions
Prepare the Mixture
In a large mixing bowl, combine the peanut butter, honey, vanilla extract, and rolled oats. Stir until well mixed.
Shape the Treats
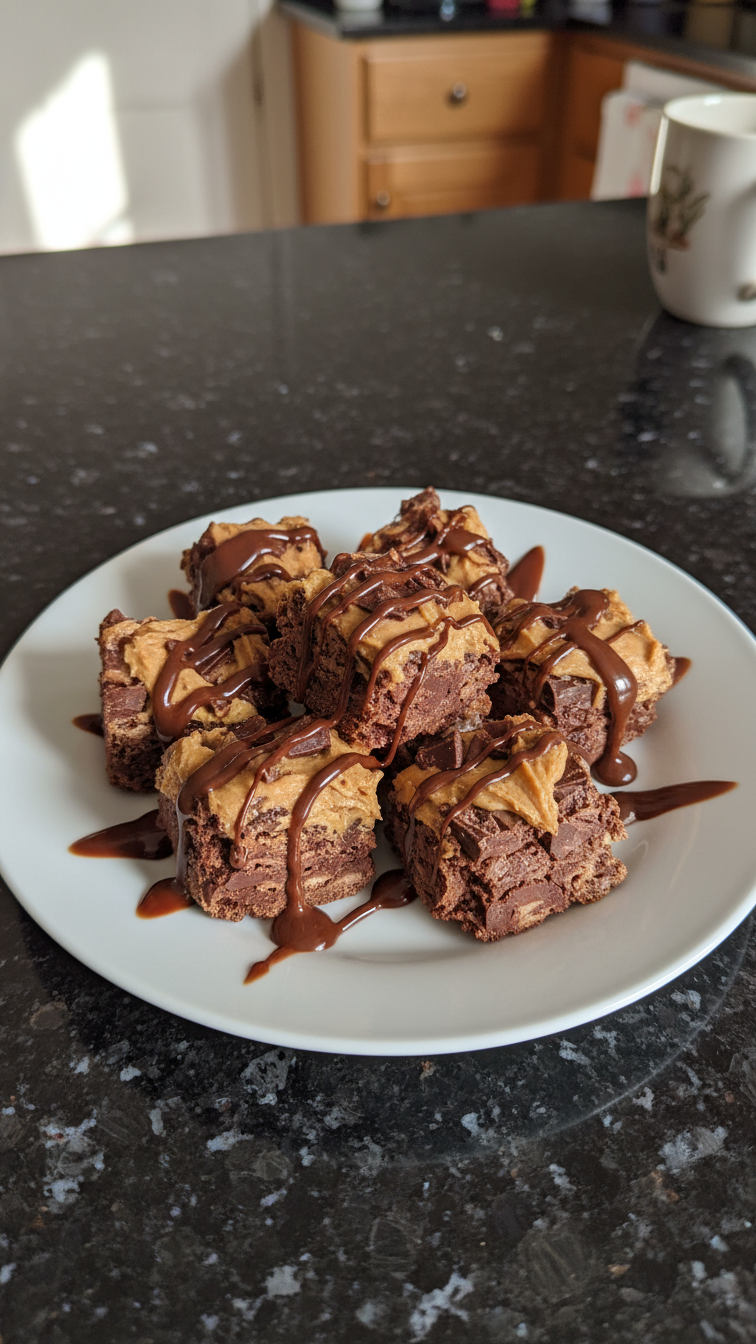
Using your hands, form small balls or squares from the mixture and place them on a parchment-lined plate.
Coat in Chocolate
Dip each treat into the melted chocolate, ensuring they are fully coated, and return to the parchment-lined plate.
Let Set
Refrigerate the treats for at least 30 minutes until the chocolate hardens.
Enjoy these delightful homemade treats anytime you desire!
Pro Tips
- Feel free to experiment by adding chopped nuts or dried fruits to the mixture for added texture and flavor.
Storage and Make-Ahead Tips
These treats can easily be made ahead of time, which is perfect for busy weeks or unexpected guests. Once set, store them in an airtight container in the refrigerator for up to two weeks. For longer storage, consider freezing them. Just layer the treats between sheets of parchment paper in a freezer-safe container, and they can last for about three months.
To thaw, simply leave the frozen treats in the refrigerator overnight. They’ll soften nicely without compromising their texture. If you find that they’ve lost some of their initial firmness after freezing, a brief stint in the refrigerator post-thaw can restore their delightful chewiness.
Serving Suggestions and Variations
If you're looking to elevate your Homemade Chocolate Peanut Butter Treats, try sprinkling crushed nuts or sea salt on top of the chocolate layer before it sets. This added texture and flavor can create a gourmet touch that impresses far beyond the simple ingredients. Additionally, for a fun twist, consider adding mini chocolate chips or dried fruit like cranberries to the oat mixture before shaping.
These treats can also be transformed into a fun dessert for gatherings. Consider placing them on a decorative platter and drizzling some extra melted chocolate over the top for an appealing presentation. Pair them with fresh fruit or a dollop of whipped cream for a delightful serving option that balances richness with freshness.
Questions About Recipes
→ Can I use natural sweeteners instead of honey?
Yes, you can substitute honey with maple syrup or agave for a vegan option.
→ How should I store the treats?
Store them in an airtight container in the refrigerator for up to a week.
→ Can I freeze these treats?
Absolutely! They freeze well. Just make sure to store them in a freezer-safe container.
→ What type of peanut butter should I use?
I recommend using creamy peanut butter for a smooth texture, but you can also use crunchy for added texture.
Homemade Chocolate Peanut Butter Treats
Created by: The Dailydishrecipes Team
Recipe Type: Treats & Confections
Skill Level: Beginner
Final Quantity: 12 treats
What You'll Need
For the Treats
- 1 cup creamy peanut butter
- 1/2 cup honey
- 2 cups rolled oats
- 1 cup dark chocolate, melted
- 1 teaspoon vanilla extract
How-To Steps
In a large mixing bowl, combine the peanut butter, honey, vanilla extract, and rolled oats. Stir until well mixed.
Using your hands, form small balls or squares from the mixture and place them on a parchment-lined plate.
Dip each treat into the melted chocolate, ensuring they are fully coated, and return to the parchment-lined plate.
Refrigerate the treats for at least 30 minutes until the chocolate hardens.
Extra Tips
- Feel free to experiment by adding chopped nuts or dried fruits to the mixture for added texture and flavor.
Nutritional Breakdown (Per Serving)
- Calories: 250 kcal
- Total Fat: 14g
- Saturated Fat: 4g
- Cholesterol: 0mg
- Sodium: 5mg
- Total Carbohydrates: 28g
- Dietary Fiber: 4g
- Sugars: 10g
- Protein: 6g