Deluxe Marble Chocolate Cake
Highlighted under: Treats & Confections
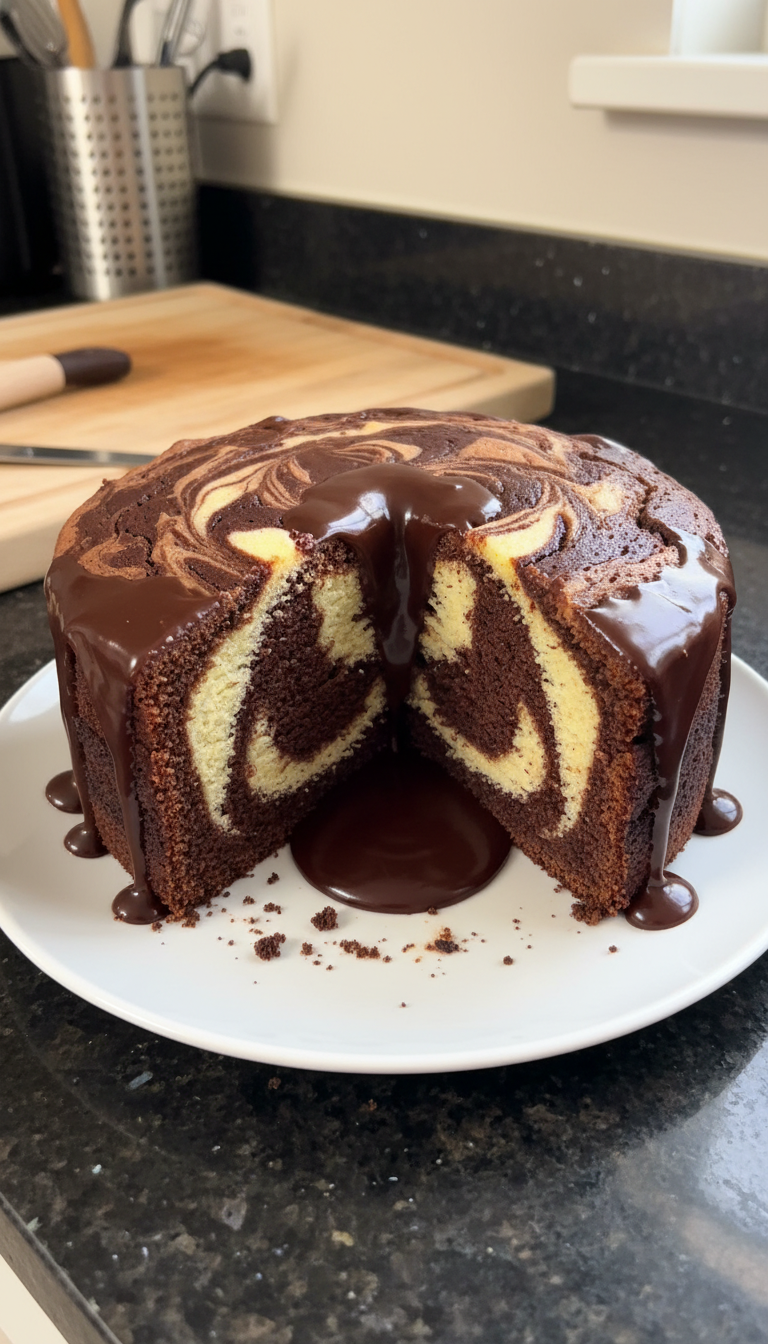
When I created this Deluxe Marble Chocolate Cake, I was craving something truly indulgent. The combination of rich chocolate and light, fluffy vanilla layers creates a beautiful visual and delightful flavor contrast. I wanted a cake that not only looked stunning but also delivered on taste, and this recipe does just that. Each slice is a celebration of textures and flavors that dance on your palate, making it perfect for any occasion or simply a sweet treat for yourself.
When I first attempted a marble cake, I wasn't sure how the two flavors would meld together, but the result was nothing short of spectacular. I used high-quality cocoa powder for the chocolate batter, which really deepened the flavor. One tip I found helpful is to swirl the batters gently; this ensures the chocolate and vanilla marry beautifully without losing their distinct identities.
I've made this cake for birthdays and family gatherings, and it always impresses with its stunning marbled appearance and delicious taste. To elevate it further, I like to serve it with a dollop of whipped cream or a scoop of vanilla ice cream, adding an extra layer of creaminess that complements the cake perfectly.
Why You'll Love This Recipe
- A stunning marbled effect that impresses at any gathering
- Rich chocolate flavor balanced with a light vanilla essence
- Perfect for birthdays, anniversaries, or simply a sweet indulgence
Understanding the Ingredients
The critical role of each ingredient in this marble cake cannot be overstated. All-purpose flour provides the structure, yielding a tender crumb when combined with the right proportions of sugar and fat. Granulated sugar adds sweetness, while cocoa powder brings that essential rich, chocolate flavor that makes this cake decadent. It's vital to use unsweetened cocoa powder; sweetened varieties can alter the sugar balance, leading to an overly sweet cake.
Buttermilk, at room temperature, is crucial for achieving a moist cake. Its acidity activates the baking soda and baking powder, resulting in a lighter texture. If you don't have buttermilk on hand, you can easily substitute it with a mixture of milk and vinegar (use 1 cup of milk and add 1 tablespoon of vinegar or lemon juice, letting it sit for 5 minutes). This slight acidity ensures the cake rises beautifully.
Achieving the Perfect Swirl
Creating the stunning marbled appearance of this cake requires a bit of technique. When dropping spoonfuls of the chocolate and vanilla batters into the cake pans, avoid over-mixing the two combinations. Use a knife or skewer to swirl gently—this not only blends the flavors beautifully but also preserves the distinct marble pattern. If you mix too vigorously, you'll end up with a solid brown cake instead of the desired marbling.
To make your swirls even more visually appealing, you can experiment with different patterns. Try using a skewer to create a figure-eight motion, which introduces a variety of swirls and enhances the aesthetic appeal of your cake. Remember, less is more; a few gentle turns will speak volumes visually while ensuring that both flavors remain prominent.
Ingredients
Ingredients
For the Cake:
- 2 cups all-purpose flour
- 1 1/2 cups granulated sugar
- 1/2 cup unsweetened cocoa powder
- 1 tablespoon baking powder
- 1 teaspoon baking soda
- 1/2 teaspoon salt
- 1 cup buttermilk, room temperature
- 1/2 cup vegetable oil
- 2 large eggs, room temperature
- 2 teaspoons vanilla extract
- 1 cup boiling water
For the Icing:
- 1/2 cup unsalted butter, softened
- 2 cups powdered sugar
- 1/4 cup unsweetened cocoa powder
- 1 teaspoon vanilla extract
- 2-3 tablespoons milk
Instructions
Instructions
Prepare the Oven and Pans
Preheat your oven to 350°F (175°C). Grease and flour two 9-inch round cake pans.
Mix Dry Ingredients
In a large bowl, sift together the flour, sugar, cocoa powder, baking powder, baking soda, and salt. Set aside.
Combine Wet Ingredients
In another bowl, whisk together the buttermilk, vegetable oil, eggs, and vanilla extract until well combined.
Mix the Batter
Gradually add the wet ingredients to the dry ingredients, mixing until just combined. Slowly stir in the boiling water until the batter is smooth.
Create the Marble Effect
Divide the batter in half. To one half, stir in additional cocoa powder as desired for a richer chocolate color. In the prepared pans, drop alternating spoonfuls of the chocolate and vanilla batters, then swirl gently with a knife.
Bake the Cakes
Bake for 30-35 minutes or until a toothpick inserted in the center comes out clean. Allow cakes to cool in the pans for 10 minutes, then transfer to wire racks to cool completely.
Prepare the Icing
In a medium bowl, beat the softened butter until creamy. Gradually add the powdered sugar and cocoa powder, mixing until combined. Add the vanilla and milk, beating until smooth and spreadable.
Frost the Cake
Once the cakes are completely cooled, place one layer on a serving plate, spread a layer of icing on top, then place the second layer and frost the top and sides of the cake.
Pro Tips
- For extra moisture, you can brush the cake layers with a simple syrup before frosting. This cake is best served at room temperature and can be stored in an airtight container for up to 3 days.
Storage and Make-Ahead Tips
This Deluxe Marble Chocolate Cake can be made ahead of time without sacrificing taste or texture. After baking and cooling, wrap the layers tightly in plastic wrap and store them in the refrigerator for up to 3 days. If you need to store them for a longer period, consider freezing the layers instead—wrap them well and freeze for up to 3 months. When ready to serve, let them thaw in the refrigerator overnight, then frost as desired.
If you anticipate leftovers, store the frosted cake in an airtight container at room temperature for 1-2 days or in the fridge for up to a week. If the cake feels slightly dry after storage, a quick drizzle of simple syrup (equal parts water and sugar heated until dissolved) before serving can rejuvenate its moisture and enhance the flavors beautifully.
Serving Suggestions
This cake is incredibly versatile and can be dressed up or down depending on the occasion. For a simple yet elegant presentation, serve it plain with a dusting of powdered sugar or cocoa powder. Alternatively, dress it up for special occasions with chocolate shavings, fresh berries, or whipped cream on the side for a touch of decadence.
For added indulgence, consider pairing slices of cake with a generous scoop of vanilla ice cream or a dollop of whipped cream. The contrasting temperatures and textures provide a beautiful balance to the richness of the marble cake. Another delightful option is to drizzle some warm chocolate sauce over the top, enriching each bite with an extra layer of chocolatey goodness.
Questions About Recipes
→ Can I make this cake ahead of time?
Yes, you can bake the cake layers a day in advance. Just wrap them tightly in plastic wrap and store them at room temperature until you're ready to frost.
→ What can I substitute for buttermilk?
You can make a buttermilk substitute by mixing 1 cup of milk with 1 tablespoon of white vinegar or lemon juice. Let it sit for 5 minutes before using.
→ Can I freeze the cake?
Yes, you can freeze the baked and cooled cake layers. Wrap them tightly in plastic wrap, then in aluminum foil. They can last up to 3 months in the freezer.
→ What is the best way to slice the cake?
To slice the cake cleanly, use a sharp knife that has been warmed under hot water, then wiped dry. This helps to make smooth cuts without tearing the layers.
Deluxe Marble Chocolate Cake
Created by: The Dailydishrecipes Team
Recipe Type: Treats & Confections
Skill Level: Intermediate
Final Quantity: 12 servings
What You'll Need
For the Cake:
- 2 cups all-purpose flour
- 1 1/2 cups granulated sugar
- 1/2 cup unsweetened cocoa powder
- 1 tablespoon baking powder
- 1 teaspoon baking soda
- 1/2 teaspoon salt
- 1 cup buttermilk, room temperature
- 1/2 cup vegetable oil
- 2 large eggs, room temperature
- 2 teaspoons vanilla extract
- 1 cup boiling water
For the Icing:
- 1/2 cup unsalted butter, softened
- 2 cups powdered sugar
- 1/4 cup unsweetened cocoa powder
- 1 teaspoon vanilla extract
- 2-3 tablespoons milk
How-To Steps
Preheat your oven to 350°F (175°C). Grease and flour two 9-inch round cake pans.
In a large bowl, sift together the flour, sugar, cocoa powder, baking powder, baking soda, and salt. Set aside.
In another bowl, whisk together the buttermilk, vegetable oil, eggs, and vanilla extract until well combined.
Gradually add the wet ingredients to the dry ingredients, mixing until just combined. Slowly stir in the boiling water until the batter is smooth.
Divide the batter in half. To one half, stir in additional cocoa powder as desired for a richer chocolate color. In the prepared pans, drop alternating spoonfuls of the chocolate and vanilla batters, then swirl gently with a knife.
Bake for 30-35 minutes or until a toothpick inserted in the center comes out clean. Allow cakes to cool in the pans for 10 minutes, then transfer to wire racks to cool completely.
In a medium bowl, beat the softened butter until creamy. Gradually add the powdered sugar and cocoa powder, mixing until combined. Add the vanilla and milk, beating until smooth and spreadable.
Once the cakes are completely cooled, place one layer on a serving plate, spread a layer of icing on top, then place the second layer and frost the top and sides of the cake.
Extra Tips
- For extra moisture, you can brush the cake layers with a simple syrup before frosting. This cake is best served at room temperature and can be stored in an airtight container for up to 3 days.
Nutritional Breakdown (Per Serving)
- Calories: 380 kcal
- Total Fat: 26g
- Saturated Fat: 15g
- Cholesterol: 195mg
- Sodium: 85mg
- Total Carbohydrates: 32g
- Dietary Fiber: 3g
- Sugars: 24g
- Protein: 6g