Heart-Shaped Coconut Cake Pops
Highlighted under: Treats & Confections
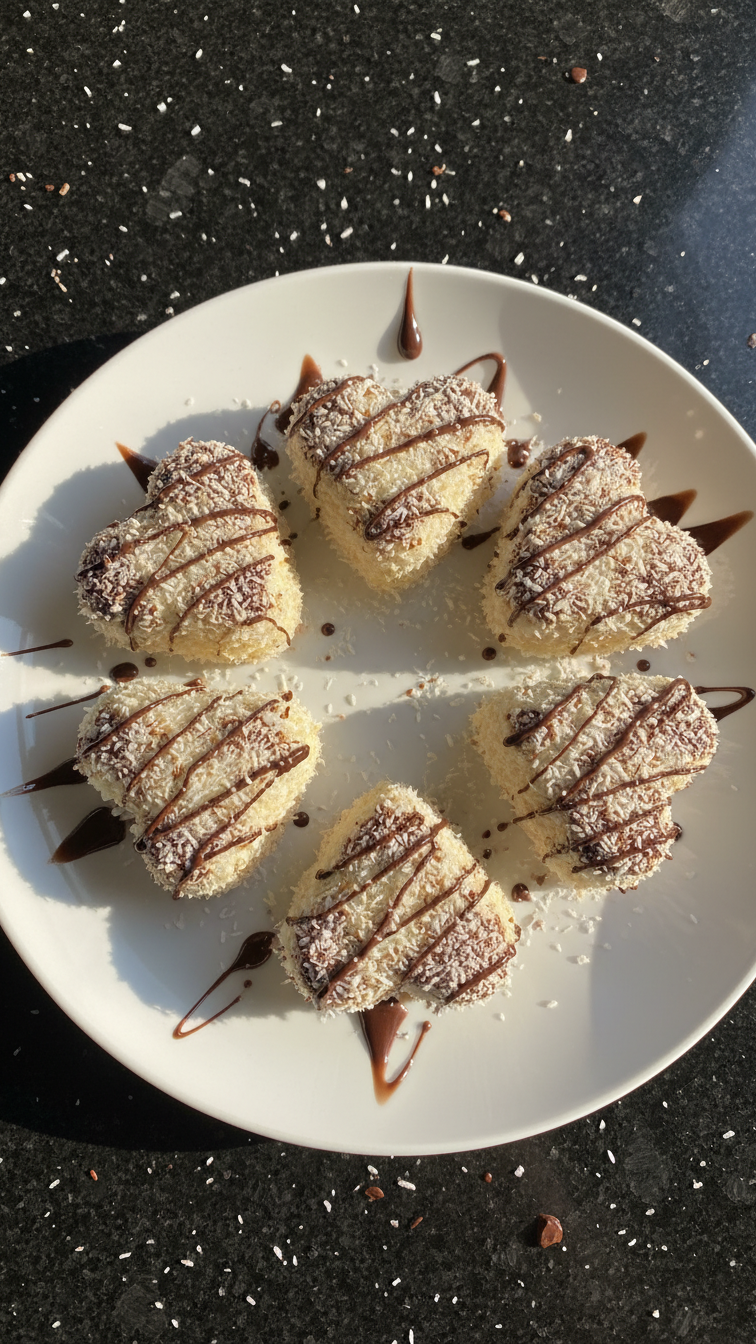
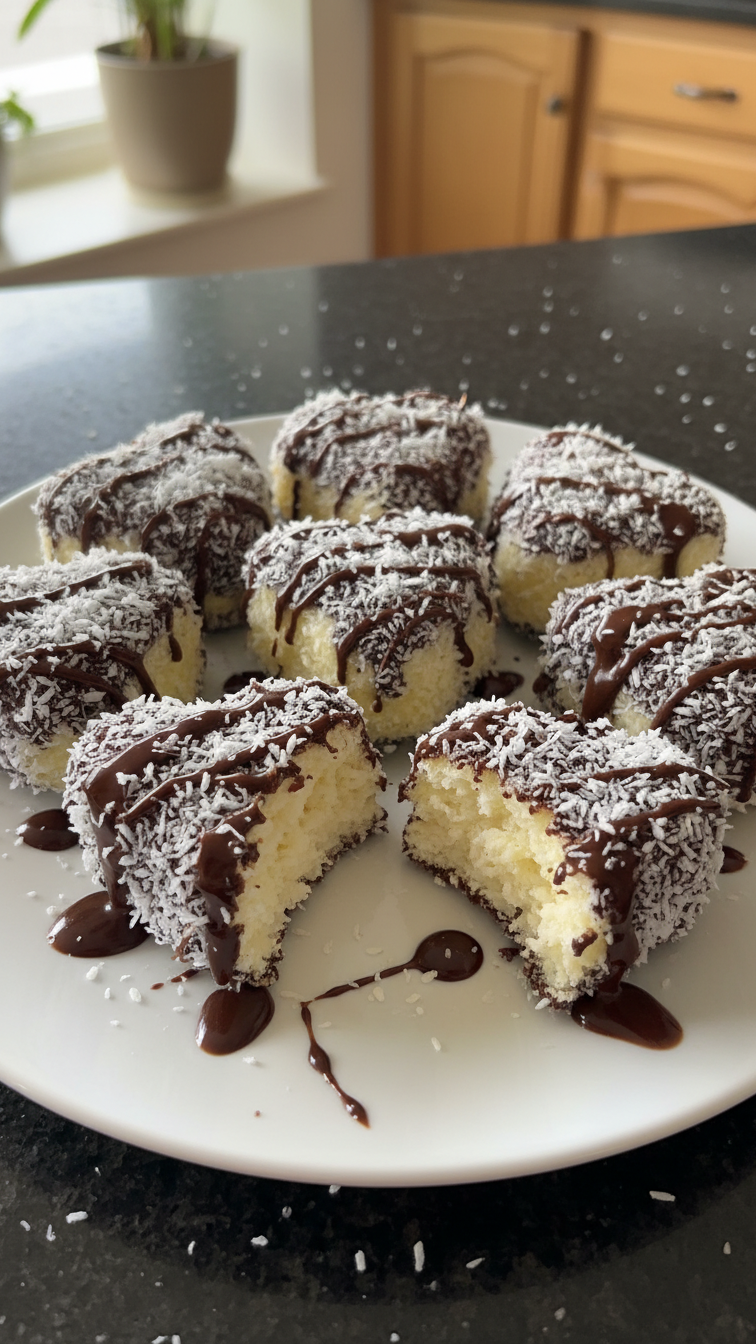
I absolutely adore making these Heart-Shaped Coconut Cake Pops, especially for special occasions like Valentine’s Day or anniversaries. The combination of rich coconut and sweet cake in a fun, playful shape makes them irresistible. These treats are not only visually appealing but also delightful to bite into, with a tropical flavor that’s hard to resist. Each time I make them, I achieve wonderful results that always elicit smiles and compliments. Join me in creating these little bites of joy that are perfect for sharing.
When I first attempted these Heart-Shaped Coconut Cake Pops, I was curious about how the shapes would hold up. To my delight, using a simple silicone mold not only helped maintain the heart shape but added a lovely presentation. I found that the key is to let the cake mixture cool completely before coating it, ensuring a smooth shell of chocolate that doesn’t crack. This technique worked wonders!
Sharing these cake pops at gatherings has become a treasured tradition for me. The smiles they bring to friends and family are priceless. One tip I swear by is to add a pinch of sea salt to the chocolate coating; it enhances the sweet coconut flavor beautifully. Trust me, everyone will love them!
Why You Will Love These Cake Pops
- Delightful coconut flavor that transports you to a tropical paradise
- Heart shapes make them perfect for gifting or celebrating love
- Easy to customize with your favorite chocolate or candy coatings
Baking the Perfect Cake
To achieve a moist and fluffy cake pop base, it's crucial to cream the butter and sugar until they reach a light, pale color and a fluffy texture. This process introduces air into the batter, which helps the cake pop rise. Be patient and take your time; about 3-5 minutes of mixing should suffice. Also, remember that if you overmix after adding the flour, your cake pops may become dense, which isn’t ideal for this recipe.
Using a heart-shaped silicone mold ensures the cake pops maintain their shape while baking, and it also aids in easy release once baked. Be sure to grease the mold thoroughly, even if it is silicone, to prevent any sticking. After baking, allow them to cool completely to avoid crumbling during shaping and coating; this cooling period is crucial to lock in the moisture and flavor.
Shaping Your Cake Pops
When crumbling the cooled cake, aim for small, fine crumbs to ensure your heart shapes hold together during the shaping process. If they are too large, it may result in breakage when you insert the sticks. It’s often easier to break the cake apart using your hands; however, a food processor can also be a great tool for achieving uniformity.
Inserting the lollipop sticks can be tricky; I recommend dipping the tip of the stick into the melted chocolate before inserting it into the cake pop. This helps secure the stick inside the cake pop, making it less likely to separate. Once you’ve shaped all your hearts and added the sticks, give them a brief chill in the fridge to firm them up for easier dipping.
Ring of Chocolate and Decorations
When coating your cake pops in melted chocolate, the chocolate should be smooth and glossy to provide an even coating. If it looks thick or won’t coat smoothly, consider adding a small amount of coconut oil or vegetable shortening to the melted chocolate—this will help thin it out for better flow. Dip the cake pops vertically into the chocolate, ensuring they’re completely submerged, and gently shake off any excess before adding sprinkles.
You can get creative with decorations! Consider using white chocolate for a contrast in color, or add a sprinkle of toasted coconut on top for an extra burst of flavor. If you want to vary the types of sprinkles, think about using themed sprinkles for occasions like Valentine’s Day or birthdays to add a personal touch. These tiny details enhance not just the look but also the overall enjoyment of each heart-shaped cake pop.
Ingredients
Gather these ingredients to start your tasty adventure:
For the Cake Pops
- 1 cup shredded coconut
- 1 cup all-purpose flour
- 1 cup granulated sugar
- 1/2 cup unsalted butter, softened
- 2 large eggs
- 1/2 cup milk
- 2 teaspoons baking powder
- 1 teaspoon vanilla extract
- 1/4 teaspoon salt
For Coating and Decoration
- 1 cup chocolate (dark or milk), melted
- Sprinkles (optional)
- Lollipop sticks
With these ingredients at hand, you're ready to create magic!
Instructions
Follow these simple steps to make your delightful cake pops:
Prepare the Cake
Preheat the oven to 350°F (175°C). In a mixing bowl, cream the butter and sugar together until light and fluffy. Add eggs one at a time, mixing well after each addition. Stir in milk and vanilla extract. In another bowl, whisk together flour, baking powder, shredded coconut, and salt. Gradually add dry ingredients to the wet mixture until combined. Pour the batter into a greased heart-shaped silicone mold and bake for 15 minutes or until a toothpick comes out clean.
Cool and Shape
Remove the mold from the oven and let it cool for about 10 minutes, then gently turn it out on a wire rack to cool completely. Once cooled, crumble the cake into a large bowl until fine crumbs form. Shape the crumbs into heart shapes, and place a lollipop stick in the center of each heart.
Coat with Chocolate
Dip each shaped cake pop into the melted chocolate, ensuring it is fully coated. Let the excess drip off. If desired, roll them in sprinkles or additional coconut, then place them upright in a floral foam block or a cake pop stand to set.
Enjoy your stunning cake pops with family and friends!
Pro Tips
- For a fun twist, consider adding flavored extracts like coconut or almond to the cake batter for an extra layer of taste. Make sure your chocolate coating isn’t too hot
- otherwise, it might melt the cake pops when dipped.
Storing and Serving Tips
These Heart-Shaped Coconut Cake Pops can be stored in an airtight container at room temperature for up to three days. If you want to keep them fresh longer, consider refrigerating them, which can extend their shelf life to about a week. However, be mindful that refrigeration may slightly alter the texture, so they are best enjoyed at room temperature.
For serving, arranging them in a decorative cake pop stand or in a bouquet-style presentation can add a beautiful touch to your event display. You can also individually wrap them in clear plastic bags tied with a ribbon for party favors—this not only keeps them fresh but also makes for a charming presentation!
Flavor Variations
You can easily modify the flavor profile of these cake pops by swapping out the coconut for other ingredients if you want to try different themes. For example, replacing shredded coconut with finely chopped nuts or even crushed graham crackers can create a whole new experience. Additionally, adding a splash of almond extract can provide a wonderful contrast to the vanilla flavor in the cake.
Consider infusing the chocolate coating with flavor as well—try mixing in some peppermint extract for a minty twist, or stir in a seasoning blend like cinnamon or chili for a unique kick. These flavor variations can surprise your guests and keep everyone excited about trying different combinations!
Troubleshooting Common Issues
If you find that your cake pops are crumbling too easily while shaping, likely, the cake wasn't moist enough. A quick fix for next time is to add a tablespoon of milk or melted butter while mixing the crumbled cake, which can help bind it together better. Also, ensure that your cake is fully cooled before crumbling and shaping; a still-warm cake can lead to sticky, unusable crumbs.
Should you experience issues with the chocolate coating cracking or not adhering properly, consider the temperature of your melted chocolate. It needs to be just warm enough to coat but not so hot that it melts the cake pop's shape. If the chocolate thickens too much, a little vegetable shortening can help smooth it out again for a better dipping consistency.
Questions About Recipes
→ Can I use a different flavor of cake instead of coconut?
Absolutely! You can substitute the shredded coconut with a different flavor like chocolate or vanilla, adjusting the ingredients as needed for consistency.
→ How can I store leftover cake pops?
Store any leftover cake pops at room temperature in an airtight container. They will stay fresh for up to 3 days.
→ Can I freeze cake pops?
Yes, you can freeze cake pops! Wrap them individually in plastic wrap and place them in a freezer-safe container; they'll last up to 2 months.
→ What type of chocolate should I use for coating?
You can use any type of chocolate you like—dark, milk, or white. Just ensure it's high-quality and melts smoothly for the best result.
Heart-Shaped Coconut Cake Pops
Created by: The Dailydishrecipes Team
Recipe Type: Treats & Confections
Skill Level: Intermediate
Final Quantity: 12 cake pops
What You'll Need
For the Cake Pops
- 1 cup shredded coconut
- 1 cup all-purpose flour
- 1 cup granulated sugar
- 1/2 cup unsalted butter, softened
- 2 large eggs
- 1/2 cup milk
- 2 teaspoons baking powder
- 1 teaspoon vanilla extract
- 1/4 teaspoon salt
For Coating and Decoration
- 1 cup chocolate (dark or milk), melted
- Sprinkles (optional)
- Lollipop sticks
How-To Steps
Preheat the oven to 350°F (175°C). In a mixing bowl, cream the butter and sugar together until light and fluffy. Add eggs one at a time, mixing well after each addition. Stir in milk and vanilla extract. In another bowl, whisk together flour, baking powder, shredded coconut, and salt. Gradually add dry ingredients to the wet mixture until combined. Pour the batter into a greased heart-shaped silicone mold and bake for 15 minutes or until a toothpick comes out clean.
Remove the mold from the oven and let it cool for about 10 minutes, then gently turn it out on a wire rack to cool completely. Once cooled, crumble the cake into a large bowl until fine crumbs form. Shape the crumbs into heart shapes, and place a lollipop stick in the center of each heart.
Dip each shaped cake pop into the melted chocolate, ensuring it is fully coated. Let the excess drip off. If desired, roll them in sprinkles or additional coconut, then place them upright in a floral foam block or a cake pop stand to set.
Extra Tips
- For a fun twist, consider adding flavored extracts like coconut or almond to the cake batter for an extra layer of taste. Make sure your chocolate coating isn’t too hot
- otherwise, it might melt the cake pops when dipped.
Nutritional Breakdown (Per Serving)
- Calories: 250 kcal
- Total Fat: 14g
- Saturated Fat: 8g
- Cholesterol: 45mg
- Sodium: 100mg
- Total Carbohydrates: 31g
- Dietary Fiber: 2g
- Sugars: 20g
- Protein: 3g